Creating an asset
You can easily create new assets while in the field using the Asset Essentials mobile app. This option is available to users with the create asset permission.
- Tap the plus button (
 ) at the bottom of the screen.
 - Tap + Asset to open the Create Asset form. This form uses the same asset template as the web application, so default values and required fields will be the same across devices. *Note: If you change the site to one that has a site-specific asset template, the values on the Create Asset form will update to match that template.
Creating an new asset
- Add an Asset Photo by taking a new photo or uploading one from the device.
- Leave the Auto Generate Asset # option enabled if you would like the system to generate an asset number. If not, tap the slider to the off position so you can enter your own Asset #.
- Enter the Asset Name. *Note: When you tap Create Asset, the Asset Name is checked to make sure there is not an existing asset with this asset name. If there is, you will see a warning message and have the option to return to the form to change the name.
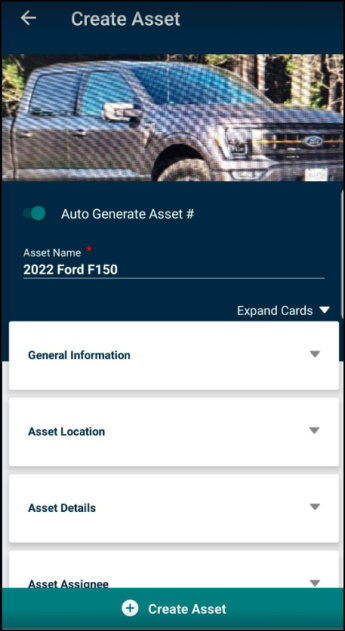
The remainder of the asset form is broken up into cards that can be expanded or collapsed by tapping on the title of the card. Be sure to go through the form and fill out any required fields as noted by the red asterisk ( ) symbol. *Note: Depending on your account's configuration, some cards may not be visible, and some fields may already be pre-populated with information.
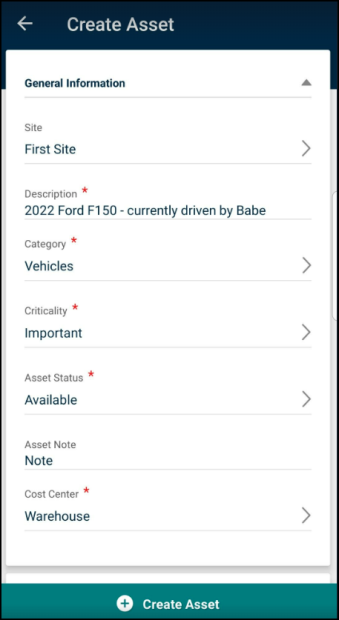
General Information
- Select the Site from the menu if necessary. *Note: If custom asset templates are made for certain sites, changing the site will pull in the new asset template. Fields that may have already had data entered in them will be set to the default values for the selected sites asset template.
- Enter a Description of the asset.
- Select the Category, Criticality, Asset Status, and Cost Center for this asset.
- You can also add an Asset Note if needed.
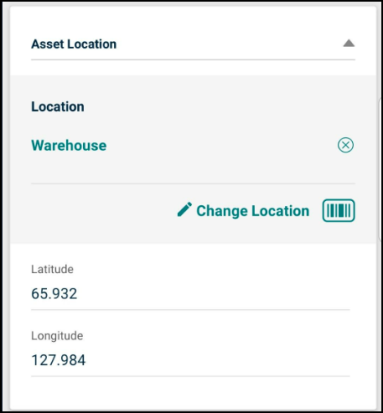
Asset Location
- Select the Location from the list or scan a QR code or barcode to enter the location for the asset.
- Enter the Latitude and Longitude for the asset in the free text fields.
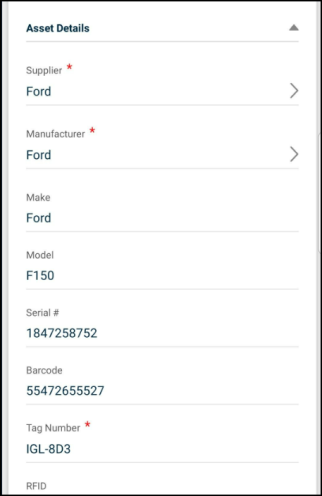
Asset Details
This card allows you to enter specific asset information that helps to identify this asset versus another.
- Select the Supplier.
- Select the Manufacturer.
- Enter other information, such as the Make, Model, Serial #, Barcode, Tag Number and RFID. *Note: When you tap Create Asset, the Serial # and Barcode values are checked to make sure there is not an existing asset with the same information. If there is, you will see a warning message and have the option to return to the form to change the information.
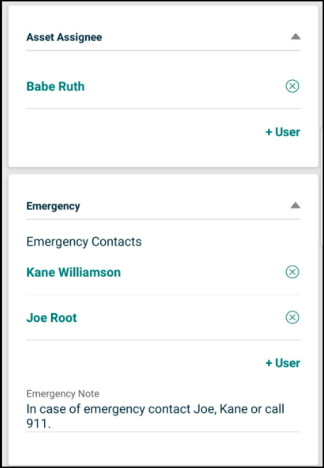
Asset Assignee & Emergency
These cards allow you to define which users are assigned to an asset and which users need to be contacted in case of emergencies. The Emergency card also includes the option to enter an Emergency Note.
-
Tap + User to select from a list of users.
-
To remove a user, click the x button next to their name.
-
Enter an Emergency Note if needed.
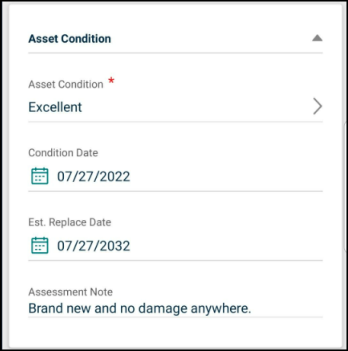
Asset Condition
Use this card to capture the initial condition of the asset.
- Select the Asset Condition from the list.
- Enter the Condition Date and the Estimated Replace Date.
- Enter an Assessment Note if needed.
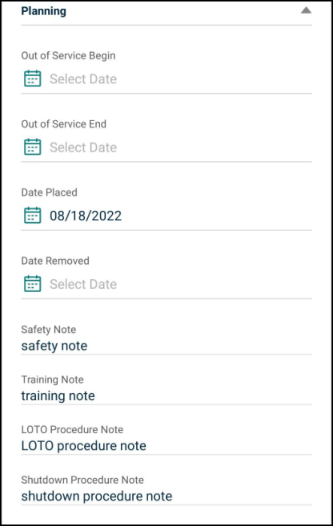
Planning
Use this card to enter information that can be used to plan for upcoming outages.
- You can enter Out of Service Begin and End dates as well as Date Placed and Date Removed.
- Enter notes for Safety, Training, LOTO, and Shutdown Procedures. *Note: These notes will be pulled in from the asset template by default.
Warranty
- Enter warranty information for the asset, including the Warranty Title, Expiration Date, and Warranty Vendor.
- Enter any Warranty Notes if needed.

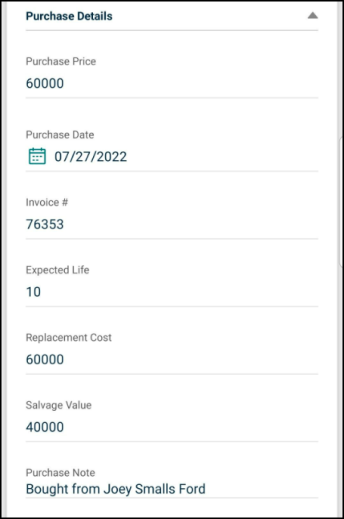
Purchase Details
- Enter purchase details for this asset, such as Purchase Price, Purchase Date, and Invoice #.
- Enter the Expected Life in years.
- Enter the Replacement Cost, Salvage Value, and a Purchase Note if needed.
Custom Fields
Any custom fields configured on the asset template to appear for an asset is displayed in this card. Be sure to enter information in all required fields marked with a red asterisk ().
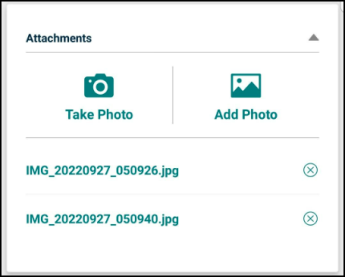
Attachments
Taking a photo
- Tap the Take Photo icon to launch your device's camera. *Note: Depending on the type of device you are using, you may be asked to allow Asset Essentials permission to access your camera. This permission is necessary for Asset Essentials to attach photos taken with your device to the work order. Tap Allow if you are prompted for this permission.
- Use your device's camera to take the photo.
- Once finished, you can tap the Edit button to annotate your photo if needed.
- If you are annotating a photo, use your finger or a stylus to draw on the photo.
- Tap the Save button to add any mark-ups drawn on the photo.
- Tap Done.
- Enter a Name for the photo if necessary.
- Tap Save to attach the photo to the asset.
Adding a photo
- Tap the Add Photo icon to launch your device's photo gallery. *Note: Depending on the type of device you are using, you may be asked to allow Asset Essentials permission to access your photo gallery. This permission is necessary for Asset Essentials to attach an already taken photo to the work order. Tap Allow if you are prompted for this permission.
- Select the photo on your device.
- Once finished, you can tap the Edit button to annotate your photo if needed.
- If you are annotating a photo, use your finger or a stylus to draw on the photo.
- Tap the Save button to add any mark-ups drawn on the photo.
- Tap Done.
- Enter a Name for the photo if necessary.
- Tap Save to attach the photo to the asset.
- Tap the Create Asset button at the bottom of the screen.
